Part 1
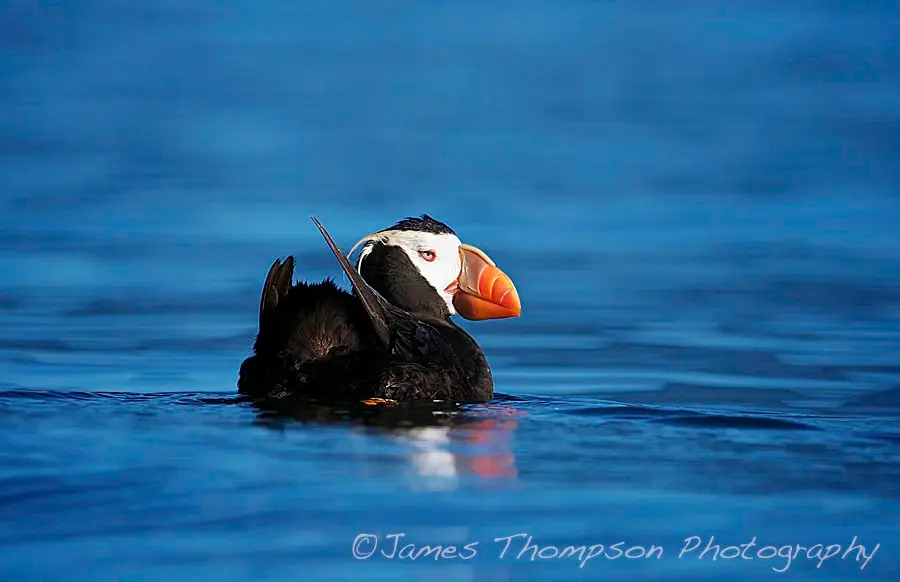
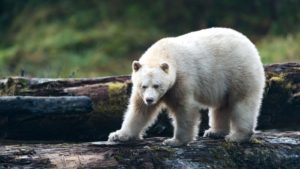
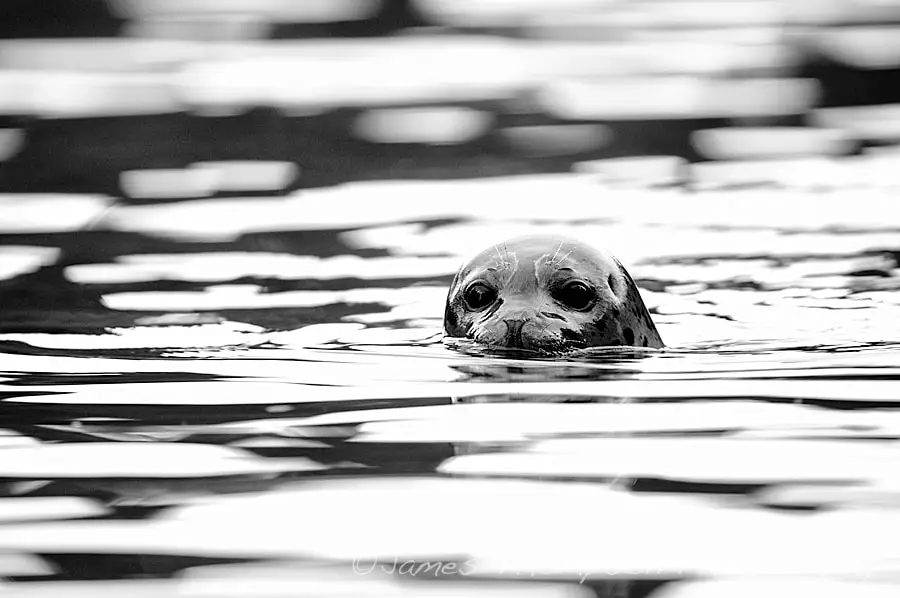
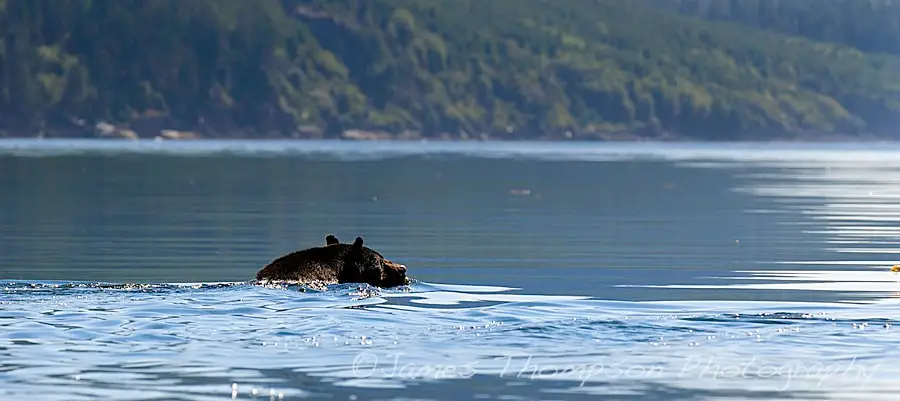
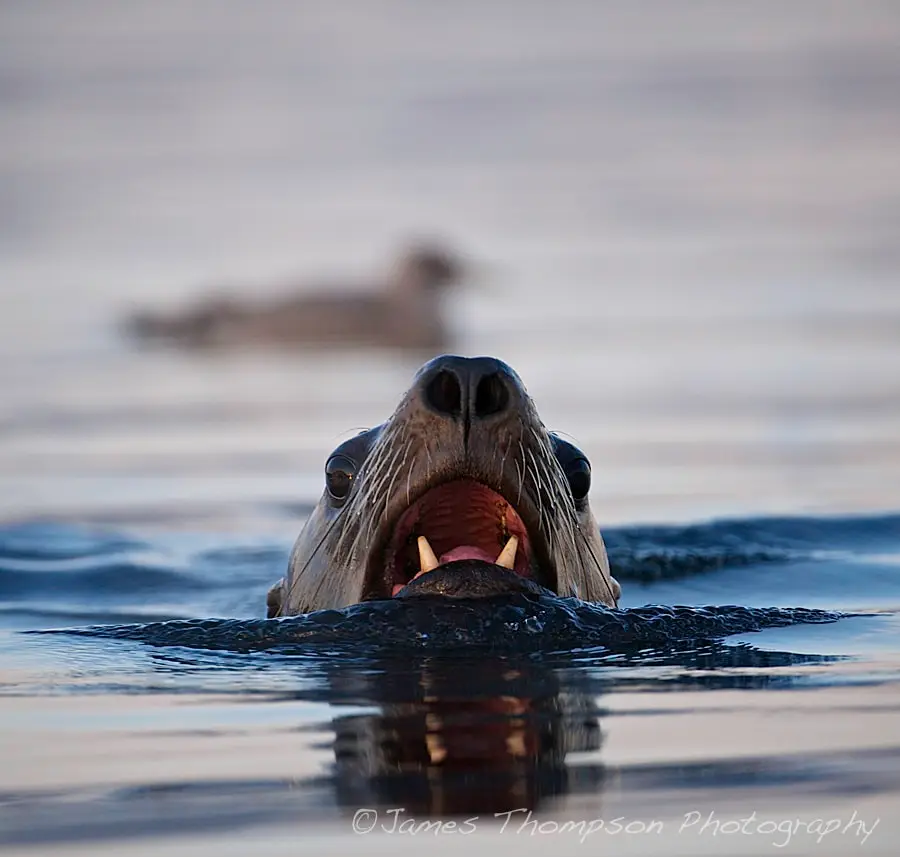
Viewing and photographing frequent and spectacular wildlife encounters are consistently rated as trip highlights by our OuterShores guests. Canada’s west coast is rich in both megafauna (whales, sea lions, dolphins etc) and microfauna (the rich and colorful denizens of the intertidal zone). It is also home to myriad species of birds. Let’s explore some strategies you can use both on your OuterShores trip and in general to help capture rewarding wildlife images.
Respect. This is the central tenet of all wildlife photography and one your OuterShores team takes very seriously. All the creatures you’ll encounter on your trip (other than perhaps your fellow travelers) are engaged in securing and conserving enough food and energy to survive, finding a mate, or trying to avoid predation (i.e. being eaten for someone else’s dinner). As guest observers of their world we must not interfere with these activities; to do so could put the animals in serious peril. Your guides will coach you on appropriate behavior around the wildlife you encounter on your trip, and you should apply the same guidelines whenever you attempt to photograph wildlife. “Take only pictures, leave only footprints (or boat wakes)” is our goal so as to minimize any adverse impact we may have on the animals we’ve come to observe.
Gear at the ready. One of the main challenges (and joys) of wildlife photography is that your subjects are rarely static for long. Just when that bald eagle is going to explode into flight after a hapless seagull or where that humpback whale is going to breach next is difficult if not impossible to predict. For this reason, as soon as wildlife is spotted get your camera out, turned on and have your finger on the shutter release! While you’re waiting for the next peak in the action, run through this mental checklist of camera settings in your head:
- Aperture: wide open (i.e. smallest f number), or put your camera on “sport” setting. This ensures the most light can get to your sensor allowing you the fastest shutter speeds possible to help freeze the action. If light levels are fairly constant, the “aperture priority” setting on your DSLR is a good choice – it will maintain whichever aperture you set and vary the shutter speed automatically to achieve a good exposure.
- Autofocus: set to “on” and “continuous” if possible. This is one of the things digital cameras do incredibly well and most importantly for wildlife photography, much faster than you can. Use it!
- Prefocus: even if your subject is not visible (e.g. the whale has dived), focus your camera on the approximate area they were last seen, or where your guides suggest the animal might reappear.
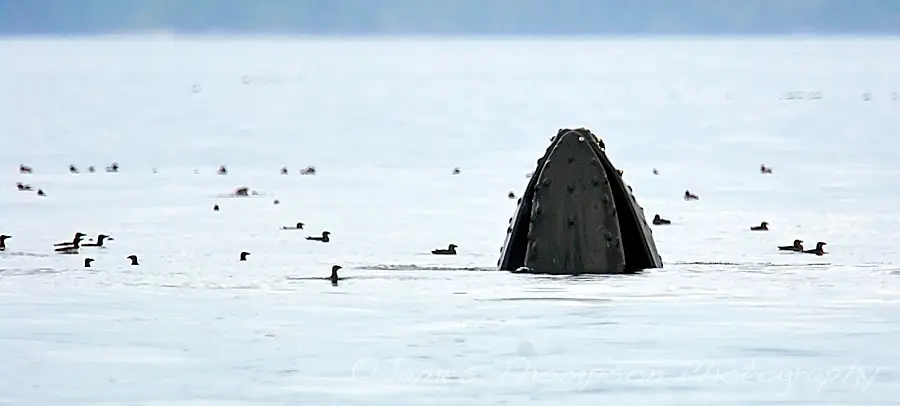
Guessing when wildlife might reappear can be a tricky proposition. For whales, keep an eye on what the sea birds are doing. - Frame rate: as fast as possible. Some pro DSLRs can shoot at 12 frames per second, but even many compact cameras can achieve several frames per second. If using the sport setting on your camera, this is usually done for you.
- Image stabilization: set to on. There are many different names for this feature such as “vibration reduction”, “shake reduction” and the like. If your camera has it, use it.
- Lens cap: off. Sounds obvious I know, but check anyway.
- Zoom to an appropriate distance. Exactly how tightly you want to zoom in on your subject is a creative choice we’ll talk more about later, but waiting for your camera to zoom in on the action can be frustrating especially if you miss the peak of the drama.
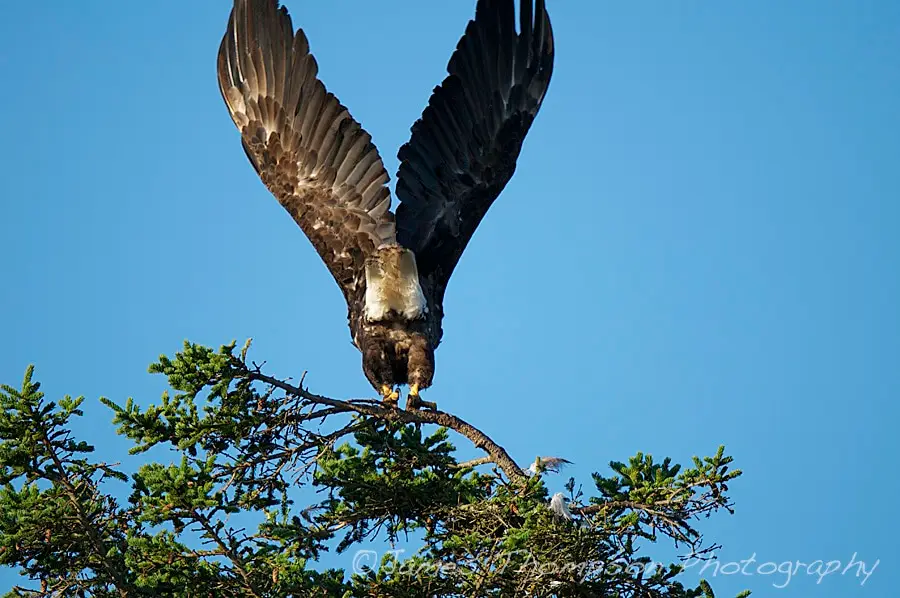
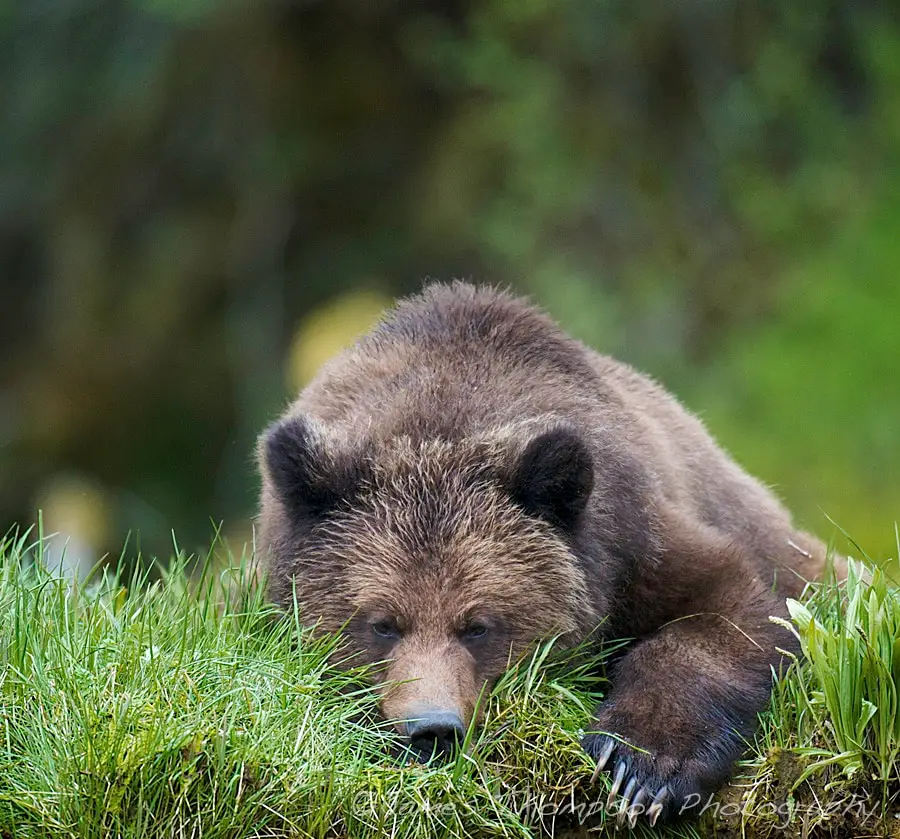
Action! If you’ve never before seen a bear rip apart a salmon or massive whale breach right out of the ocean, the experience can be both exhilarating to watch and overwhelming to try and photograph. In the heat of the moment, the natural response is to center the subject in your view finder, zoom right in and fire away as fast as your camera can record images. Go for it! There’s nothing wrong with going for the “trophy shot” as these often dramatic images are what we see gracing the covers of magazines. Just remember to focus on the eyes of your subject (if it has eyes!) and try to anticipate the peak of the action.
What’s next? The great thing about your OuterShores expedition is that you’ll encounter wildlife over and over again! Once you’ve overcome your initial amazement at all the action in front of your lens (it’s ok if you don’t, some of us never do!), it’s time to start thinking about some other ways you might want to frame your wildlife subjects. We’ll explore that in Part 2 of this article.
Happy shooting!