It’s summertime and the OuterShores season is well under way. Guests are returning home with media cards stuffed full of images of Canada’s spectacular west coast. One of the great advantages of digital cameras is that storage is cheap, unlike film. It’s not uncommon to return from a trip with thousands of images. But what to do with them all? It would do your trip a huge injustice to allow your pictures to sit on your cards or hard drive gathering “digital dust”, so let’s explore some strategies for dealing with them.
Break the task in to manageable chunks. Tackling 3000+ pictures all at once is an incredibly daunting chore, not to mention a significant commitment of time spent staring at your computer screen. There’s no rush! Take your time to go through your images, enjoying the memories; after all, it’s why you took them in the first place. Perhaps commit to editing one day’s worth of images per week, or doing just 30 minutes per day. This will allow you enjoy the task and give your images the attention they deserve.
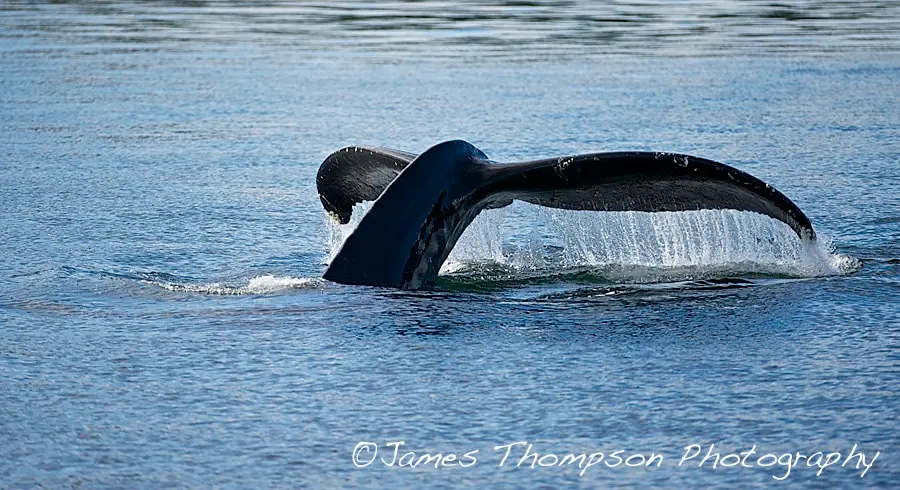
Be a ruthless editor. Do you really need all 157 pictures of the humpback whale tail? What about all those images of the picturesque anchorage taken from the same vantage point? Be brave! Delete images that you really will never look at again. One simple way to separate the wheat from the chaff is to use a rating system. Lightroom, Aperture, iPhoto and most other image organizing programs have simple methods to rate each image. Be generous on the first pass through, but on later iterations if an image consistently doesn’t get 5 stars, delete it!
Edit with a goal in mind. What are you going to do with your images? Social media? E-book? Self-published hard cover book? Digital slide show? Fine art prints? Supermarket printing? Screen saver? Knowing how you’re likely going to use your images will help you focus your efforts. Perhaps you’ll be more inclusive if a slide show is your goal, but you’ll drill down to only the very best to make prints to hang on your wall.
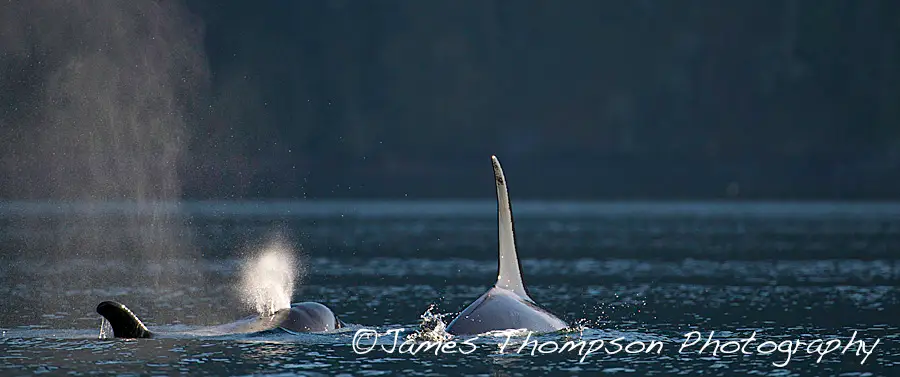
Organize organize organize! So five years from now you want to show your long lost uncle that great sunset orca shot you got on your trip. How will you find it? It’s worth the time to come up with some sort of cataloging system for your images. For example, you could gather all the images into a folder labelled with the trip name and date. That folder could then be further sub-organized into individual trip days, or by other categories such as landscapes, boat pictures, and wildlife. Take advantage of the key wording feature of your software. You can assign descriptive keywords (e.g. orca, sunset, telephoto, etc.) to individual or groups of images. The software then gives you the ability to search by keyword(s) at any time, creating collections of similarly themed images.
Back them up! In this digital age it’s ironic that the safest way to preserve your images (and to display them in their highest resolution) is to print them. The sad fact is that all our fancy gadgets, including our computers’ hard drives will eventually fail. And without doing you the courtesy of warning you beforehand! Not to mention theft, fire, user error, power surges, changing digital formats and all manner of other threats to your digital image archive. You likely already back up your critical documents but if not, start! There are many choices out there including removable hard drives and even online backup services. A combination of methods is the safest, ideally including some sort of off site storage.
Organizing, editing, and sharing your images is a great way to re-live the memories of your OuterShores trip. Using these simple tips can help keep the task fun rather than becoming a chore. Happy key wording!


